
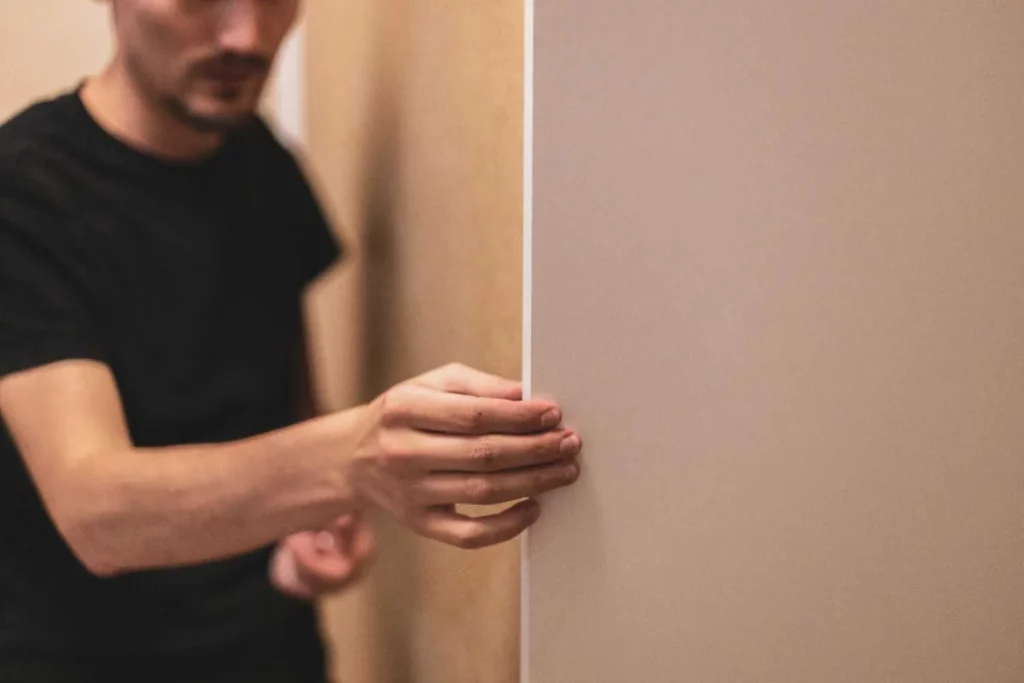
How do you fit bathroom wall panels without ruining your walls or wasting money? It comes down to good prep, the right tools, and patience. Most homeowners can learn the basics in one afternoon.
This guide walks you through every stage of the job. You will also learn when to call a professional instead.
Table of Contents
ToggleBathroom wall panels have become a popular swap for tiles because they go up faster and never need grout. But fitting bathroom wall panels the wrong way can lead to leaks, warped boards, and a finish that looks amateur. That is why we built this guide around real installation steps, not vague tips copied from a product box.
At ABL Design & Build, our teams fit these panels every week across London bathrooms of every shape and age. We know which shortcuts cause problems later and which steps actually matter.
What Are Bathroom Wall Panels and Why Homeowners Choose Them
Bathroom wall panels are large waterproof boards that cover a wall in one or two pieces instead of hundreds of tiles. Most come in PVC, acrylic, or laminate finishes, and they click together using a tongue and groove edge.
Waterproof bathroom wall panels stop water getting behind the wall, which is the main cause of mold and rot in older bathrooms. PVC bathroom wall panels are the most common choice because they cost less and cut easily with a normal saw.
Here is why people switch from tiles to panels:
- No grout lines to scrub or re-seal every year
- Faster to fit, often finished in a day
- Fewer joints where water can creep in
- Easier to keep clean with just a cloth and mild cleaner
Tools and Materials You Need Before You Start
Get everything ready before you touch the wall. Running out mid job is how mistakes happen.
You will need a tape measure, spirit level, pencil, fine tooth saw or utility knife, and a caulking gun. You also need panel adhesive, silicone sealant, trims, and spacers for even gaps.
Basic Tool List
- Tape measure and pencil for marking cut lines
- Spirit level to keep panels straight
- Fine tooth saw for laminate, utility knife for PVC
- Caulking gun for adhesive and sealant
- Drill, screws, and wall plugs for extra fixing
- Sandpaper to smooth rough cut edges
How Do You Prepare Bathroom Walls Before Fitting Wall Panels
Wall prep decides whether your panels last five years or twenty. Skip this step and even the best panel will fail early.
Start by clearing the wall of old tiles, wallpaper, or flaking paint. Clean off grease and dust so the adhesive can grip properly.
Dealing With Uneven Walls
Older homes rarely have flat walls, and this trips up a lot of first time fitters. If your wall bows by a few millimetres, most panels with a tongue and groove joint can still handle it without gaps.
For walls that dip or bulge more than that, fit a timber batten frame first. Battens create a flat, even base and give you space to hide pipework behind the panel.
Fitting Over Old Tiles
You do not always need to strip old tiles off the wall. If they are firmly stuck and reasonably flat, you can fix panels straight over them using high grab adhesive. Loose or cracked tiles should always come off first, since they will not hold weight safely.
Extra Reading: Biophilic Bathroom Design
How Do You Fit Bathroom Wall Panels Step by Step
This is the core process most people search for when they ask how do you fit bathroom wall panels correctly the first time.
Step 1: Mark Your Layout
Measure the wall height and width, then mark straight vertical guidelines with a level. This keeps your bathroom wall panel installation square from the very first board.
Step 2: Cut Panels to Size
As a general rule, leave a small expansion gap (roughly 3-5mm for a single panel, more on longer runs) at the top, bottom, and against adjoining walls, then cover the gap with trim or sealant. Panels that are cut flush with no room to expand can bow or pop their joints once the bathroom heats up and cools down repeatedly.
Step 3: Apply Adhesive
Spread panel adhesive evenly across the back of the board in a zigzag pattern. Avoid thick blobs, since they can show through thinner panel materials.
Step 4: Fix the First Panel
Many fitters combine adhesive with strips of double-sided foam tape for extra hold while the adhesive cures. Apply two or three vertical strips of foam tape to the back of the panel alongside your adhesive, then peel off the backing only once you are ready to position the panel. This stops the board slipping down the wall under its own weight before the adhesive grabs.
Step 5: Join the Remaining Panels
Slot each new board into the tongue and groove edge of the last one. This is what creates the seamless look people want from installing bathroom wall panels.
Step 6: Seal and Finish
Run a bead of silicone sealant along every joint, corner, and edge. Fit trims where panels meet the bath, floor, or ceiling.
Extra Reading:
How to Cut and Fit Panels Around Corners, Windows, and Pipework
For awkward or irregular corners, cut a cardboard template first rather than cutting into the panel directly. Hold the cardboard against the corner, score and fold it until it matches the shape exactly, then trace that outline onto the panel before cutting. This avoids wasting an expensive panel on a guess.
Internal and external corner trims cover raw panel edges and keep corners watertight. Measure twice before cutting any opening for a pipe, socket, or tap.
- Leave a 2 to 3mm gap around pipework so panels can expand
- Use a hole saw sized to match the pipe or fitting exactly
- Turn off electrics before cutting around sockets or switches
- Fit trims at every external corner for a clean, finished edge
How to Seal Bathroom Wall Panels for a Waterproof Finish
Sealing is what actually stops water damage, not the panel material alone. Weak sealing is the top reason panels fail within a year or two.
Clean every joint before sealing so the silicone bonds properly. Apply a steady, unbroken bead of sealant, then smooth it with a finger or sealant tool.
Give sealant at least 12 to 24 hours to cure before the shower gets used. This one step protects your entire bathroom wall panel installation for years.
Installing Shower Wall Panels in Wet Areas
If your panelling will cover any pipework with isolation valves, stopcocks, or other serviceable fittings, leave an access point rather than sealing over it completely. This follows general UK good practice around maintaining safe access to serviceable components, and it will save you from having to cut the panel open again the next time a valve needs attention.
Fitting Wall Panels in Bathroom Spaces With Limited Room
Small bathrooms and en suites often have awkward angles and tight corners. Fitting wall panels in bathroom spaces like these usually means more cutting and more trims per square metre.
Plan your panel layout on paper first so you are not left with a thin, weak strip at the end of a wall. Starting from the most visible corner usually gives the neatest final result.
DIY vs Professional Installation: Which Is Right for You
Many homeowners can manage a simple, flat bathroom wall using basic tools and a free weekend. How to fit wall panels in bathroom projects with corners, windows, or wet rooms is a different story.
Call in a professional if your walls are damp, badly uneven, or if you are tiling a full wet room with a shower tray. A poor DIY seal in a wet area can cause hidden damage that costs far more to fix later.
We offers Bespoke Bathrooms in London, covering everything from wall preparation to the final trim. We handle the tricky jobs so you do not have to gamble on a first attempt.
Common Mistakes to Avoid When Fitting Bathroom Wall Panels
Small errors early on cause big problems months later. Watch out for these:
- Fitting panels onto damp or dirty walls
- Skipping expansion gaps around pipes and fixtures
- Using too little sealant at joints and corners
- Ignoring uneven walls instead of battening them first
- Ignoring manufacturer adhesive guidance for the panel material
How Long Does It Take and What Does It Cost
A standard bathroom of 6 to 12 square metres usually takes one to two days from prep to finished trims. Cutting time goes up with more windows, corners, and fittings.
Labour costs in London typically run higher than average UK rates due to demand and access. DIY saves on labour but carries more risk if walls are uneven or damp.
Extra Reading: Cost of Renovation of Bathroom
Final Thoughts
Fitting bathroom wall panels is a manageable project if your walls are flat, dry, and simple in shape. Complex layouts, wet rooms, and damaged walls are best left to experienced fitters. Getting the prep, adhesive, and sealing right is what makes the finish last for years. If you would rather skip the guesswork, We offer expert Bespoke Bathrooms in London from start to finish. Contact us today for a free consultation and quote on your next bathroom project.